Grab your pencils and let’s bring SpongeBob to life! This step-by-step guide is perfect for kids of all ages who want to learn how to draw SpongeBob SquarePants, the beloved star of the hit TV series. Follow along, and by the end, you’ll have your very own masterpiece!
A Step-by-Step Guide for Kids
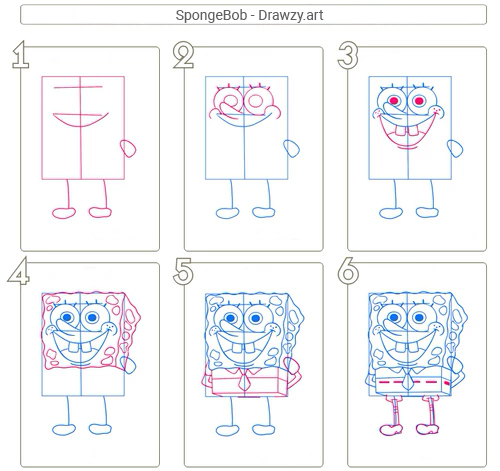
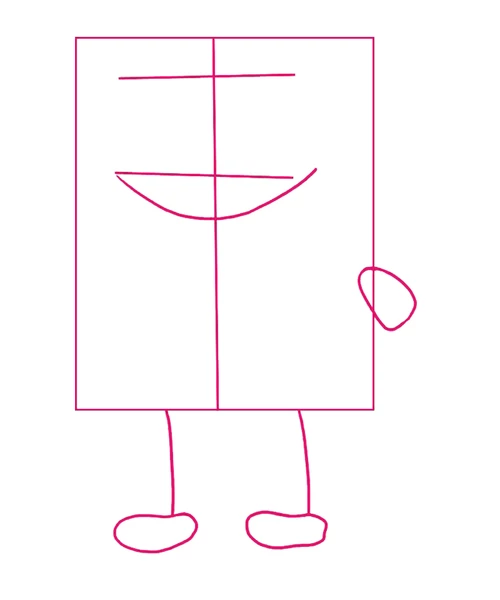
Step 1: Sketch the Basics
Start with a simple square—this will be SpongeBob’s body. Lightly sketch guiding lines for his eyes, mouth, arms, and legs to map out the proportions.
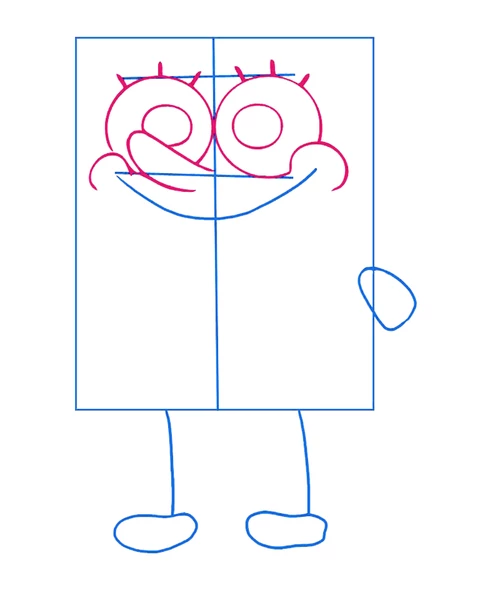
Step 2: Add Features
Using circular strokes, draw SpongeBob’s big round eyes. Add semi-circle shapes for his cheeks and a slightly elongated oval for his nose.
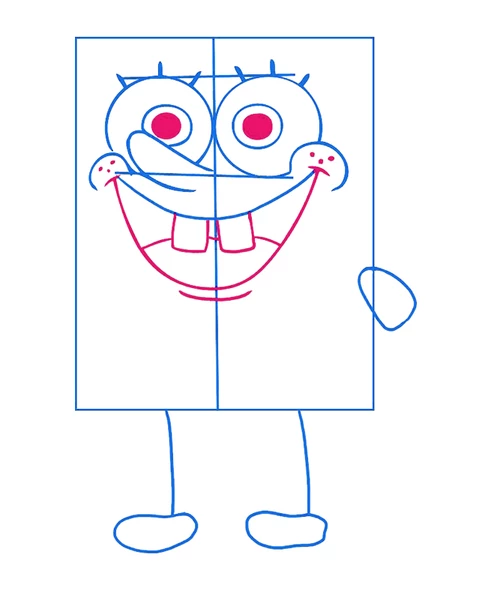
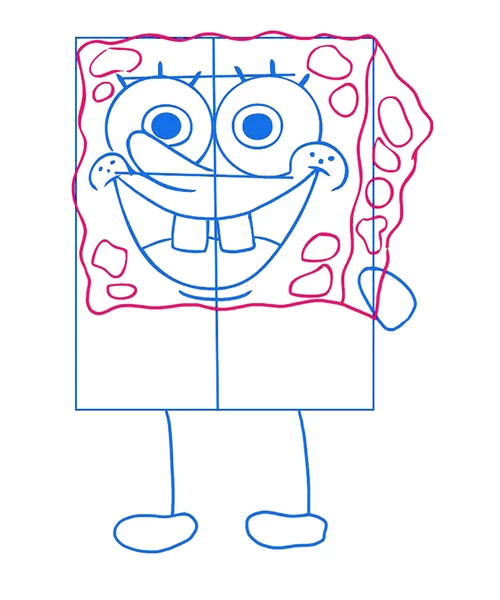
Step 3: Draw the Smile
Sketch a wide, crescent-shaped smile. Add two square-shaped teeth right in the center.
Step 4: Add Details to the Body
Draw a few irregular spots of different sizes on SpongeBob’s body to give him his iconic spongey texture.
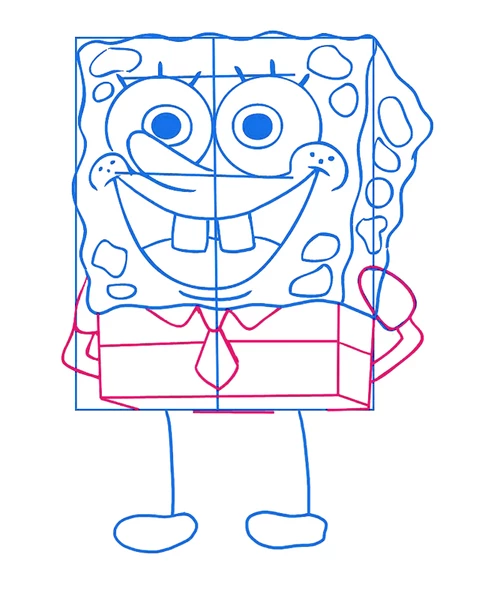
Step 5: Outfit Time
SpongeBob wouldn’t be complete without his classic square pants and tie! Draw his shorts and a triangular tie hanging from his shirt.
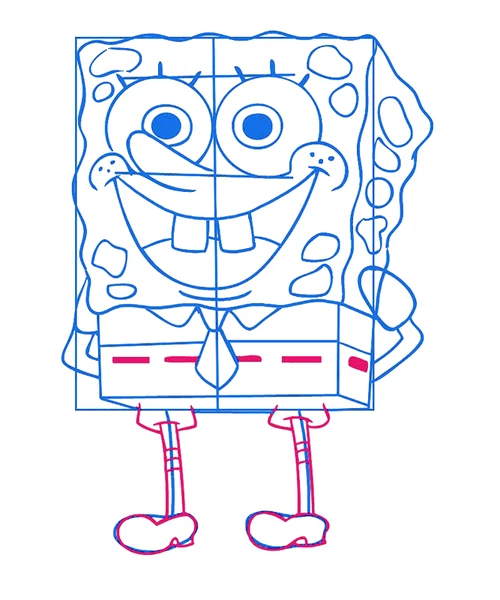
Step 6: Final Touches
Finish by sketching his shoes and the stitching on his shorts. Now SpongeBob is really starting to take shape!
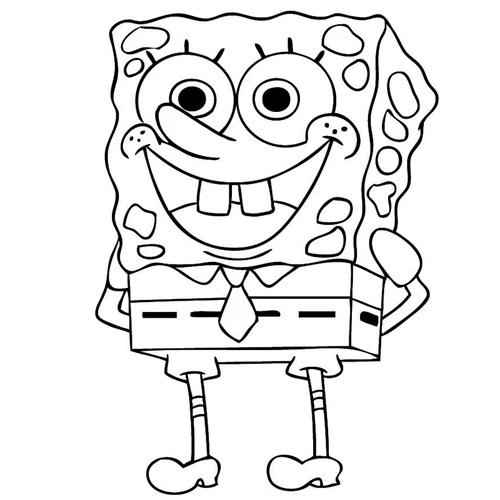
Step 7: Clean It Up and Color
Erase any extra guiding lines and prepare to add some color. Let’s bring SpongeBob to life with vibrant shades!
Coloring Your SpongeBob
You’ll need some art supplies to give SpongeBob his signature look. Here’s what works best:
- Yellow: For SpongeBob’s body.
- Red: For his tie.
- Blue: For his eyes.
- Orange: For his pants.
For the sponge spots, mix yellow with a touch of brown or green. This will add depth and make your drawing pop!

Creative Idea: Use a real sponge to paint SpongeBob! Dip a sponge into yellow paint, squeeze out the excess, and dab it gently onto the drawing. This fun technique creates a cool texture that kids will love.
Pro Tips for Drawing SpongeBob
To make your SpongeBob look just right, you’ll need a few handy tools:
- A sharp pencil: For clean lines and small details.
- A ruler: To help draw straight lines for the square body and guiding lines.
- An eraser: To clean up any mistakes or extra lines.
For SpongeBob’s eyes, you can draw them freehand or use a circular object like a bottle cap to trace perfect circles.
With this guide, you’ll have a fun and creative SpongeBob drawing session! Happy drawing, and don’t forget to share your artwork with friends and family!